A designer’s guide to opening Xcode for the first time.
The MCPs that make Claude Code useful for iOS, and a working app on your phone by the end of the afternoon.
The page I wish someone had handed me.
I got my first iBook G4 in 2005 and wanted to make apps for it. I went to Barnes & Noble and stood in front of the one tiny shelf tucked between two walls of Windows manuals, pulling Mac OS X development books down one by one and flipping through them. Every page assumed I already knew how to code. I put the books back, walked out empty-handed, and didn’t come back to the idea for fifteen years.
What changed is that you no longer have to know how to write code. You have to know how to read it, and that one shift is the whole reason this page exists.
This is a designer’s onramp to Xcode, the MCPs that make Claude Code actually useful for iOS, and the smallest possible app on your own phone with your name on it. No paid developer account, no Swift background, two hours of mostly downloads.
What you actually need.
A Mac on a recent version of macOS, an iPhone (ideally on iOS 26), a free Apple ID, and about two hours of your afternoon. No paid developer account is required to install an app on a phone you already own, which is the bar this page is targeting.
Heads up on disk space: Xcode itself is a 15+ GB download, the iOS Simulator runtime adds another 7–9 GB, and Xcode’s build cache (DerivedData) creeps up to 10–30 GB over time. Budget 30–40 GB free if you’re on a 256 GB Mac.
I’m assuming you already have Claude Code installed and signed in. If you don’t, that’s a five-minute detour and you can come back here when it’s done.
Start the download before you make coffee.
Open the Mac App Store, search for Xcode, hit get. The download is over 15 GB, so kick it off and walk away while it pulls. When it finishes, open Xcode once and click through the license, which triggers a command line tools install that adds another few minutes on top. You aren’t building anything yet, you’re just waking the thing up.
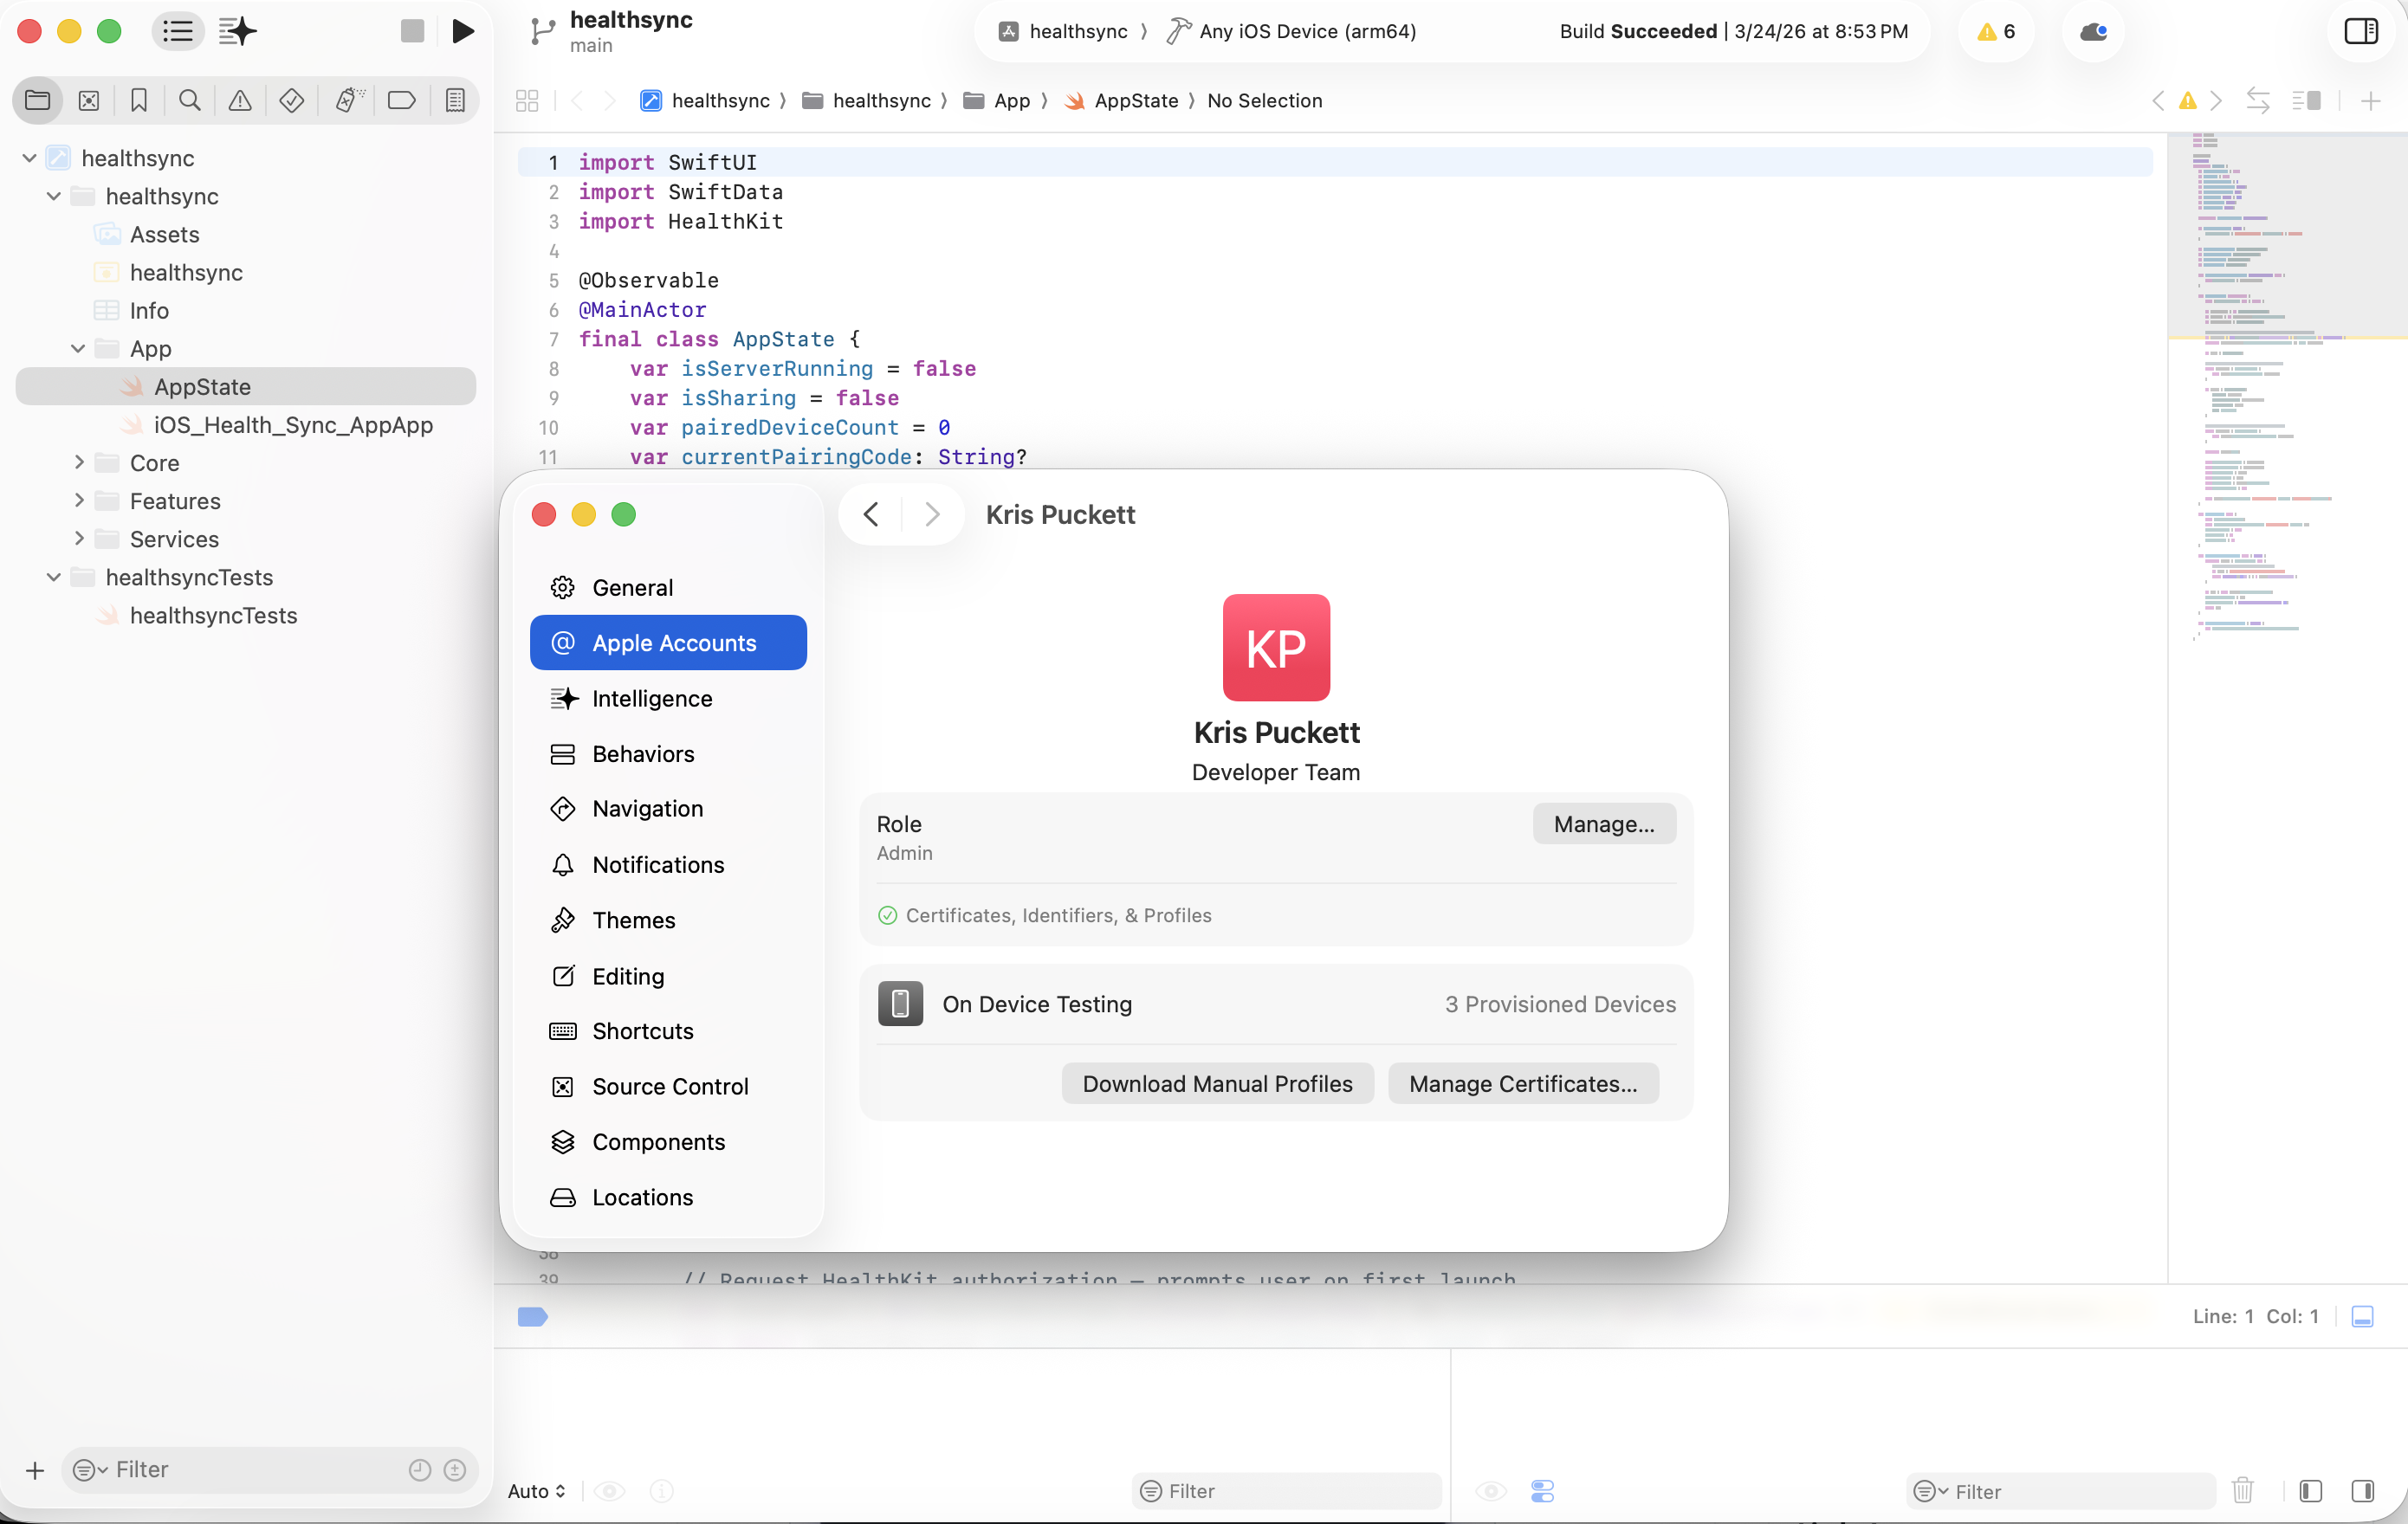
Then sign in: Xcode → Settings → Accounts → “+” → Apple ID. Use the same Apple ID that’s on your iPhone, because that’s what lets you install an app on your phone without paying a hundred dollars a year. It’s also the easiest step to forget.
Treat Claude like an engineer you’re briefing.
Claude Code is the brain, Xcode is the hands. Most of the trouble designers run into when they start building iOS apps is treating Claude like an image generator instead of an engineer who needs a clear brief.
- Give it a starting place. Tell it what app you want, what platform, what reference apps you love. Specificity beats cleverness every single time.
- Work in small loops. Ask for one thing, look at it, ask for the next. The temptation is to request the whole app in one breath and end up with a tangle you can’t unpick.
- Read the diff. When Claude writes code, it shows you what changed. You don’t have to understand every line, but you have to notice when something looks wrong.
- When stuck, ask for the smallest possible fix. Claude will sometimes propose elaborate rewrites for tiny bugs unless you constrain it.
I keep a CLAUDE.md at the root of every project, written in plain English. “This is a SwiftUI app on iOS 26. Use Liquid Glass. Don’t touch the project file.” Claude reads it every session, and it’s the cheapest behavior modification I know of.
Three servers that turn Claude into a teammate.
MCPs (Model Context Protocol servers) are what give Claude Code real reach into your tools. For iOS work, three of them carry most of the weight, and each one is a single line in your terminal to install.
Each command goes straight into your terminal. Claude Code authenticates with the host (Sosumi is open, GitHub will prompt for OAuth), and the MCP’s tools become available in your next session.
What to actually look at, and what to ignore.
Xcode is intimidating because it’s built for engineers who already know it. As a designer, you only need a handful of landmarks and three keyboard shortcuts. Everything else you can leave alone until you specifically need it.
Start with the three shortcuts you’ll use every day:
If you’ve never touched a build system, here’s what each one actually does:
And the parts of the window worth knowing about. Everything else you can collapse, ignore, or stay out of.
A few moments that feel like errors but aren’t worth panicking over. “Indexing…” at the top of the window means Xcode is still reading your code; let it finish before judging anything stuck. The canvas going grey almost always means it needs a quick resume tap, not a full clean build. First builds always take longer than subsequent ones, sometimes a lot longer. None of these are bugs.
One last move: when Xcode gets weird in a way none of this explains, quit Xcode (⌘Q), delete ~/Library/Developer/Xcode/DerivedData from the Finder, and reopen the project. This is the “turn it off and on again” of iOS development, and Claude will happily point you to it when things get truly stuck.
One screen. Your name. Five minutes.
You’re going to make a folder, start a Claude Code session inside it, hand Claude a brief, and watch an app appear. If you’ve never opened Terminal before, this is the moment. Spotlight (⌘space), type “Terminal”, hit return, and run these four lines one at a time:
cd ~/Documents
mkdir hello-xcode
cd hello-xcode
claude
Claude Code launches inside the folder and waits for input. Paste this brief:
Build me a single-screen SwiftUI app for iOS 26 called “Hello [your name]”. Show my name in large display text on a soft gradient background, with a Liquid Glass card underneath showing today’s date. No external dependencies.
Claude will ask permission to write files and run commands (mostly Xcode-related). Approve each one. Watch it scaffold the project, write ContentView.swift, and finally tell you to open the .xcodeproj file in Xcode.
Open that file. Once Xcode finishes indexing (the progress bar at the top of the window), hit ⌘R. The simulator boots, the app appears, and the first time you watch it happen it feels like cheating. It isn’t. You wrote the brief, read the diff, and ran the build, which is the entire loop.
From here, the loop is: tell Claude what to change, watch the diff land, hit ⌘R, look at the simulator. Don’t use the SwiftUI Canvas even though Xcode keeps pushing you toward it. It pauses, needs setup state, and breaks for reasons unrelated to your actual app. The simulator is fast enough and shows you the real thing.
The first run won’t launch. That’s normal.
Plug your iPhone into your Mac with a cable and trust the computer when prompted on the phone. The cable matters: if it’s the cheap kind that came with a charger, it might only carry power, not data. The phone will charge but won’t appear in Xcode’s device list. Use the cable that came in the iPhone box (or any cable explicitly rated for data) if you hit that wall.
Once Xcode sees the phone, the rest happens in three places:
- 01Click the device selector at the top of the window (the one currently saying “iPhone 17 Simulator”) and choose your actual iPhone from the list.
- 02In the left sidebar, click the blue project icon at the very top.
- 03Under Signing & Capabilities, set Team to your Apple ID and let Xcode generate the bundle identifier for you.
- 04Hit ⌘R.
On a fresh iPhone, the first build will install but iOS won’t actually run anything Xcode pushed over until Developer Mode is enabled. The phone surfaces the prompt automatically. The path is Settings → Privacy & Security → Developer Mode, toggle it on, and let the phone restart. Hit ⌘R again in Xcode and the app installs and launches on your home screen.
You now have an app you wrote, sitting on your home screen, with your name on it. Show it to someone you love. The look on their face is the thing that got me hooked.
Things that took me too long to learn.
I built and shipped an iOS app called Epilogue this way, and almost everything I now consider obvious took weeks to figure out. The shortest version:
A short field manual.
It will. Here’s what to do about it:
- Build fails with a red error. Copy the full error string into Claude Code and tell it to fix this with the smallest change possible.
- App crashes the second you open it. Look at the Xcode console along the bottom of the window. The line in red is almost always the answer. Paste it to Claude.
- Simulator is acting weird. ⌘⇧K to clean, then ⌘R to run. This fixes more problems than it should.
- iPhone doesn’t show up in the device picker. Unlock the phone, unplug it, plug it back in, and trust the computer if prompted. If it still doesn’t show up, the cable is power-only. Swap it.
- No simulators in the device list. Xcode → Settings → Platforms → install the iOS runtime. The first one is a 7–9 GB download and takes a few minutes. You only do this once.
- App installs but the icon isn’t on your home screen. Swipe left past your last home screen page to App Library and look in the alphabetical list, or pull down and search by name. The icon’s there.
- “Signing for app requires a development team.” You forgot the Team dropdown in Signing & Capabilities. Click the blue project icon, pick your Apple ID under Team, let Xcode regenerate the provisioning profile, and run again.
- Claude is going in circles. Start a new session and tell it where you are in fewer words. Long sessions drift, and the cheapest reset is a fresh prompt.
Build something small and personal.
A daily quote app pulling from a JSON file. A tea timer. A widget that counts your kid’s age in days. Pick something you’d actually want on your home screen, finish it in one sitting, and don’t worry about whether it’s any good.
Don’t try to ship to the App Store on day one. Ship to your home screen, ship to one friend, run the loop again. Brief → build → install → iterate is the same loop the App Store uses, with more paperwork attached.
I never bought those books. I stood in front of the corner shelf at Barnes & Noble, flipped through enough of them to decide the syntax was taller than I was, and walked out. That was 2005. The wall back then lived on every page I touched. The wall now is whether you’re willing to start, and that’s a much smaller wall.